
How to Bore a Cylinder with a Drill Press: Setup, Checks, and Common Mistakes
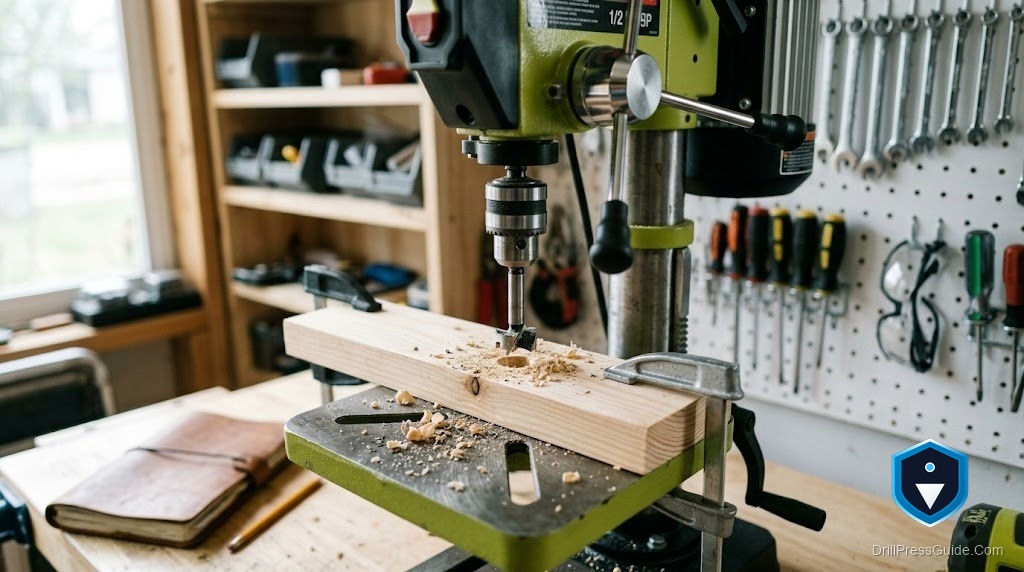
Boring is not drilling. Drilling makes a hole roughly the size of the bit; boring opens an existing hole to a precise size with a fine, adjustable cut. People reach for a drill press to bore a cylinder because they already own one, and with a boring head and a lot of care, it can work for light jobs. It can also go badly wrong if you treat it like a mill, so let us do this right.
Boring a cylinder with a drill press means using a boring head, a tool that holds a single cutter you can adjust outward in tiny steps, to enlarge and true a bore to a target diameter. The boring head plunges straight down like any drill press operation, which is why the machine can attempt it: the cut is mostly axial, not the side load that milling demands. Within limits, that makes light boring one of the more reasonable machine-shop tricks a drill press can pull off.
Here is the direct answer. Mount a boring head in the spindle, set the workpiece dead square and rigidly clamped, dial the cutter to just skim the existing bore, and take light passes, advancing the cutter a few thousandths between each, until you reach size. Run a slow speed, because a boring head swings a wide arc and speed at the cutter tip climbs fast. Keep the quill feed steady and gentle. The two things that ruin a drill press boring job are a workpiece that is not square to the spindle and cuts that are too deep, both of which let the flimsier drill press setup chatter and cut a tapered or oversized bore. Go slow, check often, and a drill press will bore a clean light cylinder.
Set the work square, because everything depends on it
A bore is only as straight as the workpiece is square to the spindle. Clamp the part in a solid vise or bolt it to the table, then check that the face is perpendicular to the spindle before you cut. Any tilt gets multiplied down the length of the bore, so a part that looks close by eye can come out visibly tapered. Take the time here; it is the single biggest factor in the result.
Rigidity matters just as much. A boring head hangs a cutter out to one side, and the drill press quill has play by design. If the setup can flex, it will, and you will hear it as chatter and see it as a rough, wavy bore. Lock the quill travel where you can, keep the head as high in its travel as the job allows, and clamp everything twice as hard as feels necessary.
Cut light, cut slow, measure often
A boring head lets you adjust the cutter in small, marked steps, so use them. Skim the bore first to find high spots, then advance a few thousandths per pass. Because the cutter swings a wide circle, surface speed at the tip is high even at low spindle RPM, so set a slow speed to keep the edge from burning. Feed the quill steadily by hand, clear swarf and hot chips between passes, and measure the bore as you close in on size, since the last few thousandths are where a good job is won or lost. Community machinists on Practical Machinist who bore on drill presses say the same thing over and over: light and patient beats fast and sorry.
Throughout, mind the point of operation. The Occupational Safety and Health Administration’s drilling guidance calls for clamped work, a guarded rotating chuck, eye and face protection, and control of hot chips, all of which apply doubly with a boring head swinging in the spindle.
The tool that makes it possible
You cannot bore without a boring head. A set that seats in the drill press spindle, like this MT2 boring head set, includes the head, a range of bars, and the adjustment keys, and its Morse taper arbor fits a typical drill press spindle. Match the bar to the depth and diameter of your bore, and keep the cutter as short as the job allows for stiffness.
Comparison: drill press boring versus a lathe or mill
A drill press with a boring head bores light, shallow cylinders acceptably when the work is square and the cuts are tiny. It is limited by quill play and modest rigidity, so it struggles with deep or precise bores.
A lathe or mill holds the work or tool far more rigidly and bores deeper, straighter, and to tighter tolerances. It is the right tool when accuracy or depth matters.
My verdict: bore on a drill press only for light, shallow, forgiving work, and set the part perfectly square first. For a precise or deep cylinder, a lathe or mill will save you the tapered, chattered bore a drill press tends to leave.
Conclusion
Boring a cylinder with a drill press is one of the few machine-shop jobs the tool can honestly attempt, because the cut is straight down. Success comes from a square, rigid setup and light, slow, well-measured passes. Push the depth or skip the squaring, and you will get a tapered bore and a shaking machine. Respect the limits and it will surprise you.
Key takeaways:
- Boring opens a hole to a precise size with an adjustable single-point cutter in a boring head.
- A square, rigid setup is the biggest factor in a straight, round bore.
- Run slow, cut a few thousandths per pass, and measure as you approach size.
FAQ
What is the difference between drilling and boring? Drilling makes a hole near the bit’s size. Boring enlarges and trues an existing hole to a precise diameter.
Can a drill press really bore a cylinder? Yes, for light, shallow work, because the boring head plunges straight down within the machine’s strength.
Why run a slow speed? A boring head swings a wide arc, so the cutter tip’s surface speed is high even at low RPM.
What is the most common mistake? A workpiece that is not square to the spindle, which produces a tapered bore.
How deep a cut should each pass take? A few thousandths of an inch. Light passes keep the flexible setup from chattering.
Do I need a special tool? Yes, a boring head with bars that seats in the spindle taper.
When should I use a lathe or mill instead? Whenever the bore must be deep or held to a tight tolerance.
References
- Occupational Safety and Health Administration, Woodworking eTool: Drill Presses (osha.gov)
- Practical Machinist forum, boring with a drill press discussion threads


