
How to Drill a Straight Hole Without Drill Press: A Step-by-Step Method
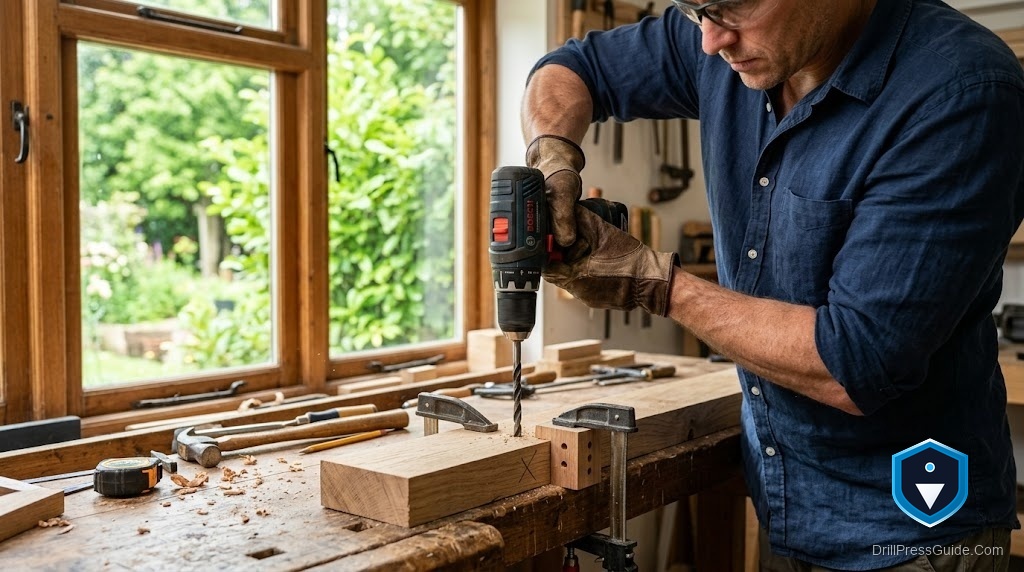
Sometimes you do not need a hundred holes or a whole guide to workshop theory. You need one straight hole, right now, and there is no drill press in sight. Maybe you are hanging a gate, mounting a bracket, or fixing something at a friend’s place with a cordless drill and nothing else. This guide is the step-by-step version: how to make a single hole go in straight and true using what you likely already have, and where a small tool helps if you want to remove the guesswork entirely.
Drilling a straight hole without a drill press means controlling the drill’s angle and holding the workpiece steady so the bit enters perpendicular and does not wander. With a handheld drill, that control comes from setup and technique rather than a machine, but a single square hole is very achievable once you follow the steps in order.
The direct answer, as a sequence: mark and punch the center, clamp the workpiece, set up a visual square reference, start the hole slowly, check the drill against your reference from two directions, then finish with a light, steady feed. Do those in order and one clean, straight hole is well within reach.
Step 1: Mark and punch the center
Mark exactly where the hole goes, then dent the spot with a center punch and a tap of a hammer (a nail works in a pinch). That small dimple gives the bit a place to bite so it cannot skate across the surface when you start. Skipping this step is the most common reason a hole starts off-center and stays crooked.
Step 2: Clamp the workpiece
A hole cannot be straight if the material moves. Clamp the workpiece to a bench or hold it firmly against a stop so it cannot spin or creep when the bit grabs. If you are drilling all the way through, put a sacrificial board underneath so the exit does not blow out and the bit has somewhere to go.
Step 3: Set up a square to sight against
Stand a speed square, a combination square, or even a book with a true edge right next to your punch mark, with a vertical edge pointing straight up. This is your reference for perpendicular. For the best result, set a second square at ninety degrees to the first, so you have a front reference and a side reference around the hole. Now you can check the drill against both at once.
Step 4: Start the hole slowly
Seat the bit in the punch mark, line the drill body up parallel to your vertical reference, and squeeze the trigger gently to start a shallow starter hole. Low speed at the start keeps the bit from wandering and lets you confirm your angle before you commit. Once the bit has bitten in a few millimeters, stop and check.
Step 5: Check the angle from two directions
Look at the drill against your first square, then step ninety degrees around and check it against the second. Correct any lean before you go deeper, because the starter hole will guide the rest of the cut. This two-direction check is the single trick that separates a straight hole from a leaning one.
Step 6: Finish with a light, steady feed
With the angle confirmed, drill the rest of the way at a moderate speed with light, steady pressure, letting the flutes clear chips. Do not force it; pushing hard bends the bit off line and overheats it. Ease off as you approach breakthrough so the exit stays clean.
The tool that removes the guesswork
If you want a single hole to be dead straight without relying on your eye, a portable drill guide holds the drill in a carriage and guides it perpendicular (or at a set angle), with a depth stop and a self-centering base for round stock. It is small enough to keep in a toolbox and turns the six steps above into one: set it down and drill. The honest caveat is that it has some play compared to a real press, so it still rewards clamping the work and feeding lightly.
The verdict
One straight hole without a drill press is a matter of order, not luck: punch the center, clamp the work, set up a square to sight against, start slow, check the angle from two directions, and finish with a light feed. Follow those steps and a handheld drill makes a hole square enough for almost any job. If you would rather not trust your eye, a pocketable portable drill guide removes the guesswork entirely. Either way, the crooked-hole problem is solved.
FAQ
What is the most important step for a straight hole by hand? Checking the drill against a square from two directions after starting a shallow hole. That two-way check catches lean before it ruins the hole.
Why punch the center first? The dimple gives the bit a place to bite so it cannot skate across the surface, which is the usual cause of an off-center start.
Do I really need to clamp the workpiece? Yes. If the material moves when the bit grabs, the hole cannot be straight. Clamp it or hold it firmly against a stop.
How do I keep the bit from wandering at the start? Start in the punch mark at low speed and drill only a few millimeters, then check your angle before committing to full depth.
What tool makes this foolproof? A portable drill guide holds the drill perpendicular or at a set angle with a depth stop, turning the whole process into set-it-down-and-drill.
How do I avoid blowing out the back of the hole? Back the workpiece with a sacrificial board and ease off the pressure as the bit approaches breakthrough.
References
- Milescraft, DrillMate portable drill guide (perpendicular and angled guiding): https://milescraft.com/product/drillmate/
- Rockler, Portable Drill Guide product information: https://www.rockler.com/rockler-portable-drill-guide


