
How to Make Pocket Holes with a Drill Press: Setup, Checks, and Common Mistakes
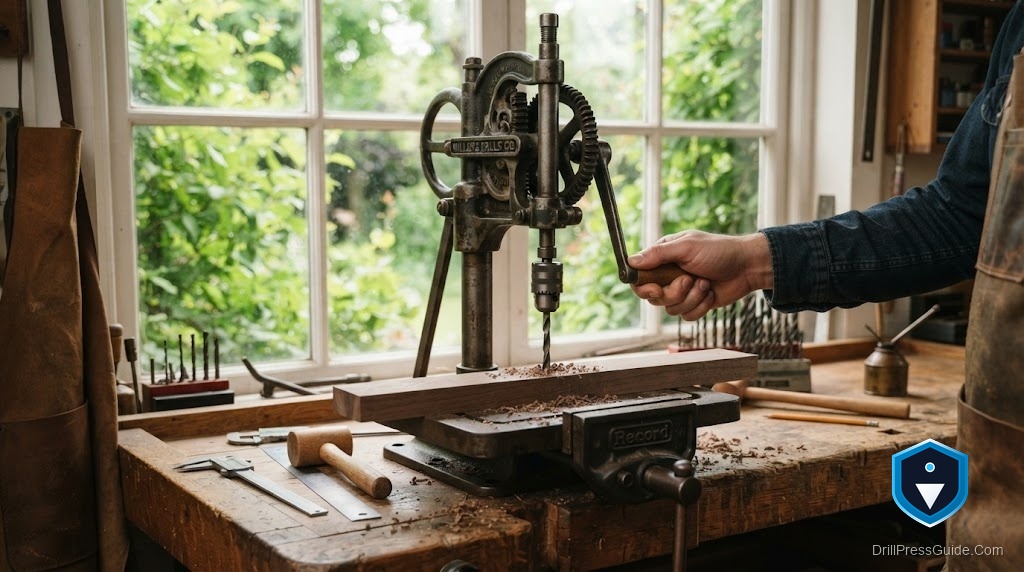
Pocket holes are one of the fastest ways to join wood: an angled hole that lets a screw drive from an inconspicuous spot into the mating piece. Most people make them with a dedicated jig, but a drill press can produce clean, consistent pocket holes too, with the right setup. The appeal is control and repeatability on parts you are already drilling at the press. The challenge is that a pocket hole is drilled at an angle, so the whole setup is about holding the work tilted, safely and consistently.
Making pocket holes with a drill press means drilling the angled bore and screw pilot of a pocket-hole joint using the press, with the workpiece held at the correct angle by a jig or tilted support and a step or pocket-hole bit. The drill press supplies the controlled, square-to-its-own-axis plunge; a fixture supplies the angle, and the bit forms the pocket and pilot in one.
Short answer: hold the workpiece at the pocket-hole angle with a solid tilted jig or fixture, use a proper pocket-hole or step bit, set the depth stop so the pocket and pilot are the right depth, and clamp the work firmly. The accuracy and safety come from holding the angled workpiece securely and setting depth precisely, since the angle is what makes this setup different from ordinary drilling.
Understand what a pocket hole needs
A pocket hole has two parts formed together: a wider, flat-bottomed pocket that the screw head seats into, and a narrow pilot that continues at the same angle to exit where the screw crosses into the joining piece. Both are drilled along one angled path, typically a shallow angle to the face of the board. So the drill press must plunge along that angled line relative to the workpiece. Since the press only plunges straight down, you create the angle by tilting the work, not the machine. Grasping this, angle the work, not the spindle, makes the whole setup make sense and points to what the fixture has to do.
Build or set a solid angled fixture
The key to good pocket holes on a drill press is a fixture that holds the workpiece at the correct, consistent angle and does not move. This can be a shop-built ramp or cradle that presents the board face at the pocket-hole angle under the bit, or a tilting table set to that angle, with a fence and stop so every hole lands the same distance from the edge and end. The fixture must be rigid and clamped, because any shift in the angled support changes the hole and can be unsafe. Getting a solid, repeatable angled fixture is the heart of the job; once it holds the work true, the drilling itself is simple.
Choose the bit and set the depth
Use a proper pocket-hole bit, which forms the wide pocket and the narrower pilot in one plunge, or a suitable step bit that does the same, so both diameters come out in a single controlled stroke. Set the drill press depth stop carefully so the pocket is deep enough for the screw head to seat and the pilot exits where the joint needs it, and confirm on scrap before real parts. Match the speed to the bit and the wood so it cuts cleanly without burning. The right bit plus a precisely set depth stop are what make the pocket and pilot correct and consistent, turning the press into a reliable pocket-hole machine.
Check it, and avoid the common mistakes
Before a run, drill a test piece in the fixture and check the pocket depth, the pilot exit, and that a screw seats and drives correctly. The common mistakes are a fixture that is not rigid or clamped, so the angle drifts, an incorrectly set depth so the screw does not seat or blows through, using an ordinary twist bit instead of a pocket-hole or step bit, and holding the angled work by hand, which is unsafe. Also confirm the setup clears the chuck and column at the angle. Clamp the work, keep hands clear of the bit, and feed steadily. Avoid these and the drill press turns out clean, consistent pocket holes all day.
Conclusion
Making pocket holes with a drill press comes down to angling the work, not the machine, and doing it securely. Understand that the pocket and pilot are drilled along one angled path, build or set a rigid, clamped fixture that holds the workpiece at the correct angle with a fence and stop, use a proper pocket-hole or step bit, and set the depth stop precisely, testing on scrap first. Avoid a loose fixture, wrong depth, the wrong bit, and hand-holding. Do that and a drill press produces pocket holes as clean and repeatable as a dedicated jig, with the added control of the press you already own.
Frequently asked questions
Can a drill press really make pocket holes? Yes. With the workpiece held at the pocket-hole angle by a rigid fixture and a proper pocket-hole or step bit, a drill press drills clean, consistent pockets and pilots.
How do I create the angle if the press only drills straight down? You tilt the workpiece, not the spindle. A shop-built angled ramp or cradle, or a tilting table set to the pocket-hole angle, presents the board so the straight plunge drills along the angled path.
What bit should I use? A proper pocket-hole bit, which forms the wide pocket and narrow pilot in one plunge, or a suitable step bit that does the same, so both diameters come out in a single controlled stroke.
How do I set the depth? Set the drill press depth stop so the pocket is deep enough for the screw head to seat and the pilot exits where the joint needs it, and confirm on scrap before drilling real parts.
What is the biggest safety concern? Holding angled work by hand. The workpiece must be clamped in a rigid fixture, because a tilted, unclamped piece can shift or be grabbed by the bit. Keep hands clear of the drilling zone.
Why are my pocket holes inconsistent? Usually the fixture is not rigid or clamped, so the angle drifts, or the depth stop is not set. A solid, clamped angled fixture with a fence and stop, plus a set depth, fixes it.
References
- Forest Products Laboratory, wood joinery and machining references, fpl.fs.usda.gov
- OSHA, Machine Guarding eTool: Drill Presses, osha.gov


