
Drill Press Speed Chart PDF: A Practical Guide for the Workshop
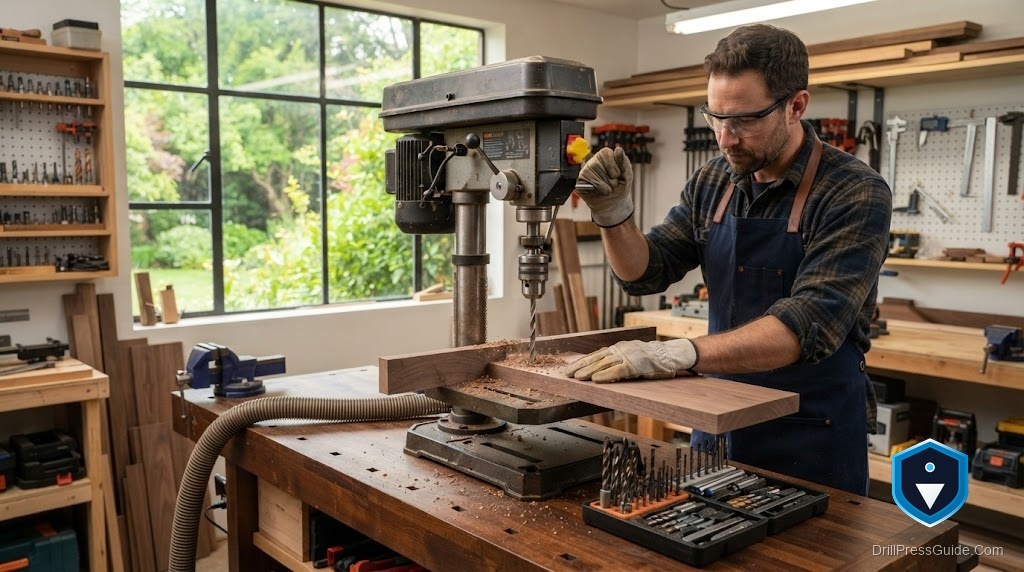
Run a bit too fast and it overheats, burns the wood, and goes dull; run it too slow and it chatters and wanders. The right speed lives in a fairly narrow band that changes with the material and the bit diameter, and no one memorizes all of it. That is what a speed chart is for, a quick lookup you glance at before flipping a belt. This guide gives you the working numbers, explains the one rule behind them, and shows how to keep a chart handy at the machine.
A drill press speed chart lists the recommended spindle speed in RPM for each combination of material and bit diameter. The core rule is simple: larger bits and harder materials need slower speeds, while smaller bits in soft materials run faster. Use the chart to pick the RPM band, set it with the belt or variable-speed control, then fine-tune by how the cut sounds and feels.
The one rule behind every chart
Every speed chart is really expressing one idea: the cutting edge at the rim of the bit should move at a sensible speed for the material. Because a bigger bit’s edge travels farther per revolution, it needs fewer revolutions per minute to keep that edge speed in range. And harder materials tolerate a lower edge speed before heat builds up. So two variables drive the chart, diameter and material, and both push in the same direction: bigger or harder means slower. Keep that in mind and the numbers stop feeling arbitrary.
Working speed chart (RPM)
These are practical shop starting points. Round to the nearest speed your press offers, then adjust by feel.
| Bit diameter | Softwood | Hardwood | Acrylic / plastic | Aluminum | Mild steel |
|---|---|---|---|---|---|
| 1/8 in | 3000+ | 3000 | 2000 | 3000 | 3000 |
| 1/4 in | 3000 | 2500 | 1500 | 2500 | 1500 |
| 3/8 in | 2500 | 1800 | 1000 | 2000 | 1000 |
| 1/2 in | 1800 | 1500 | 750 | 1500 | 750 |
| 3/4 in | 1500 | 1000 | 500 | 1000 | 500 |
| 1 in | 1000 | 750 | 400 | 750 | 350 |
| Over 1 in | 700 | 500 | 300 | 500 | 250 |
Stainless steel and hard alloys run slower still, often half the mild-steel figure, with steady feed and cutting fluid.
Reading and using the chart
Find your material column, drop to your bit’s diameter row, and read the RPM. Set the closest speed your machine offers by moving the belt across the pulleys or turning the variable-speed control. Then let the cut confirm it: a clean, steady curl of chips and no burning means you are close, while smoke, squealing, or a glazed hole means slow down, and chatter or a bit that grabs can mean adjust speed and check your feed and clamping. Setting the correct speed is a core setup step that general guides like Pro Tool Reviews emphasize.
Keeping a chart at the machine
The chart only helps if it is where you work. Save a copy as a PDF and either print it and tape it to the machine or the wall behind it, or keep it on your phone. Many people laminate a printout so it survives shop grime. Whatever the format, the goal is a two-second glance before you set the belt, not a trip back to the computer. If your press came with a manual, it may include a machine-specific chart matched to its exact belt positions, which is worth using alongside a general one. Safe operation, clamped work, and eye protection still apply at any speed, as OSHA and CCOHS note.
The verdict
A drill press speed chart turns a fuzzy judgment call into a quick lookup: match material and bit diameter to an RPM, set it, and fine-tune by feel. Three takeaways: bigger bits and harder materials always call for slower speeds, the chart gives you a starting band while the sound and chips confirm the final setting, and keeping a printed or saved copy at the machine is what makes it useful. Who needs one? Everyone, from beginners avoiding burned holes to pros protecting bit life, a chart at the machine pays for itself in cleaner cuts.
Frequently asked questions
What is a drill press speed chart? A lookup table that gives the recommended spindle RPM for each combination of material and bit diameter. You find your material and bit size, read the speed, and set it on the machine, then adjust by feel.
What speed should I run for drilling metal? Slower than wood. As a starting point, roughly 1500 RPM for a 1/4-inch bit in mild steel, dropping to a few hundred RPM for bits an inch and larger. Stainless runs slower still, with cutting fluid and steady feed.
Why do bigger drill bits need slower speeds? A larger bit’s cutting edge travels farther each revolution, so it needs fewer revolutions per minute to keep the edge speed in a safe range. Too fast and a big bit overheats and dulls quickly.
How do I know if my speed is wrong? Burning, smoke, squealing, or a glazed hole means too fast, slow down. Chatter, a wandering bit, or grabbing can mean the speed, feed, or clamping needs adjusting. Clean chips and no burning mean you are close.
How do I set the speed on a drill press? On belt-driven models, move the belt across the stepped pulleys to the position for your target RPM. On variable-speed models, turn the dial or lever while the machine runs. Match the closest available speed to the chart.
Can I download and print a drill press speed chart? Yes. Save one as a PDF and print it to tape near the machine, or keep it on your phone. Many people laminate a printout so it survives shop use. A machine-specific chart from your manual is worth using too.
Does the same chart work for wood and metal? A single chart can cover both by listing separate columns per material, since metal needs much slower speeds than wood for the same bit size. Always read the column for the material you are actually drilling.
References
- Pro Tool Reviews, How to Use and Set Up a Drill Press. https://www.protoolreviews.com/how-to-use-drill-press/
- OSHA, Woodworking eTool: Drill Press. https://www.osha.gov/etools/woodworking/production/machines-tools/drill-press
- CCOHS, Metalworking Machines: Drill Presses. https://www.ccohs.ca/oshanswers/safety_haz/metalworking/drillpresses.html


