
How to Use a Plug Cutter Without a Drill Press: What to Check Before You Start
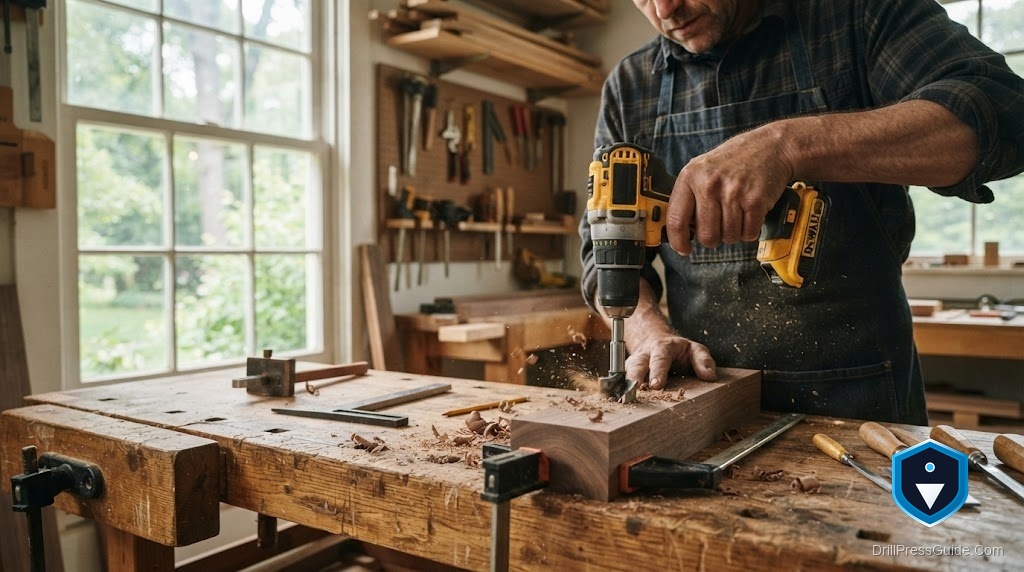
A wood plug is the difference between a screw hole that shouts and one you can barely find. Cut a plug from the same board, glue it over the counterbored screw, sand it flush, and the grain almost disappears. The clean way to make plugs is on a drill press, where the cutter stays vertical and the plug comes out even. The question is what to do when you only have a handheld drill, because a plug cutter freehand is one of the twitchier things you can ask a drill to do.
The honest answer up front: you can use a plug cutter without a drill press, but it takes a firmly clamped board, a drill held as square as you can manage, a slow speed, and patience. A plug cutter has no point to center itself, so it wants to skate, and freehand it will unless you set up carefully.
Why a plug cutter is harder freehand than a drill bit
A twist bit has a point that finds its own center. A plug cutter is a hollow tube of cutting edges with an open middle, so it lands flat on the wood and can slide before it bites. On a drill press the quill holds it steady while it starts. In your hand, that first second is where plugs go wrong, tilting, tearing, or walking off the grain you wanted.
The same safe-work habits that the CCOHS drill press page and OSHA’s eTool describe for machine drilling matter even more here: the board must be clamped, hands stay clear of the cutter, and eye protection goes on, because a plug cutter throws fine chips.
Check these before you cut
Pick the right board. Cut plugs from an offcut of the same species and, ideally, similar grain to the piece you are hiding screws in. A tapered plug cutter set makes plugs that seat snugly and match well when you keep the grain aligned.
Match plug to hole. Your plug diameter must match the counterbore you drilled for the screw. Tapered cutters make plugs that wedge tight, straight cutters make plugs for through holes and dowel work. Confirm the pairing before you cut fifty of the wrong size.
Use thick enough stock. Plug cutters do not go all the way through in one pass cleanly. Use stock at least as thick as the plug is long, and plan to free the plugs by slicing the board on a bandsaw or with a handsaw after cutting.
The freehand method
1. Clamp the board flat to a bench with the cutting area over a supported spot. Never hold the board by hand.
2. Set a slow to medium speed. Plug cutters cut cleaner slow. High speed burns the rim and loads the flutes.
3. Start square. Rest the cutter flat on the wood, sight it against a small square standing nearby, and begin with light pressure until the rim bites a full circle. That first full ring is what keeps the plug straight.
4. Feed and clear. Push steadily to your depth, backing out once or twice to clear chips so the cutter does not pack and burn.
5. Free the plugs. Once you have cut a row, release them by cutting through the board’s thickness on a saw. Snapping them out with a screwdriver works too but can split the ends.
Drill press versus freehand for plugs
| Factor | Freehand drill | Drill press |
|---|---|---|
| Starting the cut | Skates, needs a careful start | Quill holds it steady |
| Plug straightness | Good with care, some taper | Consistently square |
| Volume | Fine for a handful | Better for many plugs |
| Setup | Clamp and go | Vise and depth stop |
For a dozen plugs on a weekend project, freehand is completely reasonable. For a deck’s worth of hundreds, the press wins on consistency and your wrist.
Mistakes to avoid
Starting at full speed, which burns the rim before the cut begins. Skipping the clamp, which lets the board spin the instant the cutter grabs. Cutting plugs from a different species, which leaves a patch you can spot across the room. And forcing the cutter through in one push, which packs the flutes and scorches the plug.
The verdict
A plug cutter without a drill press is a genuine skill rather than a gimmick, and the payoff is invisible screws in furniture and trim. It rewards a clamped board, a slow start, and a square eye, and it punishes speed and impatience. Three takeaways: match the plug to both the counterbore and the wood species, start the cut slow and square so the rim bites a full ring, and cut plugs from thick stock you can saw apart afterward. Who should skip freehand? Anyone making plugs by the hundred, where a press turns a fussy job into a fast one.
Frequently asked questions
Can you use a plug cutter with a handheld drill? Yes, if you clamp the board, hold the drill square, and start slowly so the rim bites a full circle before you feed. It takes more care than a drill press but works well for small batches.
Why does my plug cutter skate at the start? Plug cutters have no centering point, so they slide until the whole rim engages. Start slow with light pressure and keep the cutter flat and square until it bites.
What speed is best for a plug cutter? Slow to medium. High speed burns the rim and loads the flutes with scorched chips.
How do I get the plugs out of the board? Cut a row of plugs, then saw through the board’s thickness on a bandsaw or with a handsaw to release them. Prying works but can split the ends.
Tapered or straight plug cutter, which do I want? Tapered plugs wedge tight into counterbored screw holes and are the usual choice for hiding screws. Straight cutters suit through holes and dowels.
How thick should my stock be for plugs? At least as thick as the plug is long, so the cutter can reach full depth before you saw the plugs free.
How do I match the plug to the surrounding wood? Cut plugs from an offcut of the same species and align the grain direction when you glue them in.
References
- CCOHS, Metalworking Machines: Drill Presses. https://www.ccohs.ca/oshanswers/safety_haz/metalworking/drillpresses.html
- OSHA, Woodworking eTool: Drill Press. https://www.osha.gov/etools/woodworking/production/machines-tools/drill-press
- Pro Tool Reviews, How to Use and Set Up a Drill Press. https://www.protoolreviews.com/how-to-use-drill-press/


