
Bringing a Craftsman Vintage Drill Press Back to Reliable Shop Use
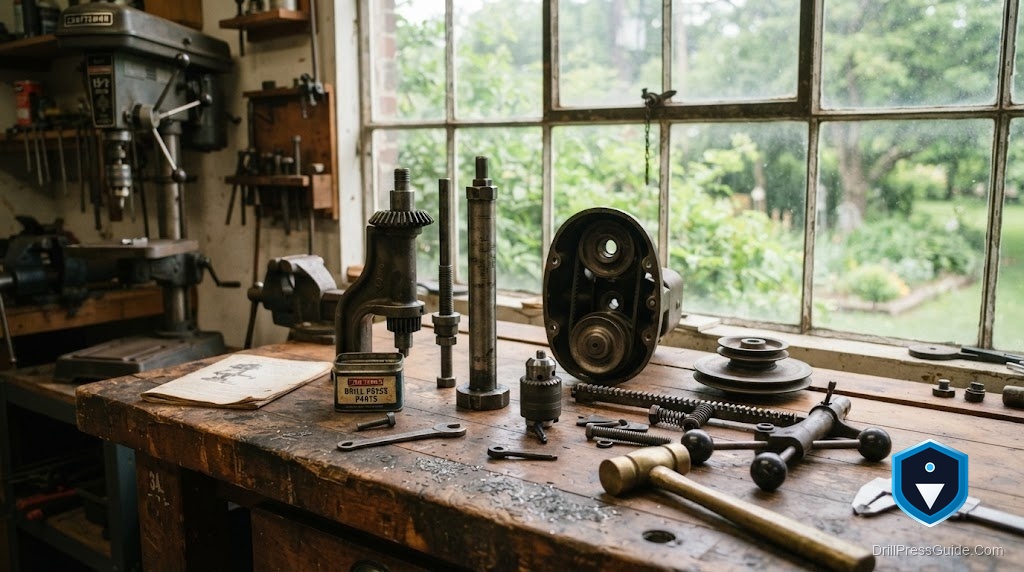
The machine usually shows up the same way: a garage sale, a retiring neighbor, an estate cleanout. Heavy cast iron, orange or gray paint gone chalky, a chuck frozen with decades of dried oil, and a price that feels almost rude it is so low. A Craftsman vintage drill press in that condition is not a project you should fear. It is a machine that was overbuilt in the first place and is now asking for a weekend of attention. The trick is knowing which parts wear, which parts are simple, and which parts will send you hunting.
A vintage Craftsman drill press is one of the drilling machines Sears sold under the Craftsman name from the late 1940s into the 1980s. Craftsman never built tools itself. From 1946 to 1964 most of these presses came from King Seeley, whose model numbers carry a 103 prefix, and later ones came from Emerson. Knowing who actually made yours is the first step, because it decides where parts come from.
Can you bring one back to reliable use? Almost always, yes. The head casting, column, and spindle assembly on these machines were built to last generations, and they usually have. What fails is predictable: dried grease seizing the quill, a tired torsion spring, a glazed V-belt, and bearings that have gone rough from sitting. Those are all fixable with hand tools and patience.
First, identify what you actually have
Before you touch a wrench, find the model number. On a King Seeley era press it starts with 103; on later Craftsman presses you will see numbers like 113.213850. That number is your key to every parts diagram and manual that exists. Write it down and photograph the tag before cleaning, because the paint stick numbers and stamped tags fade fast once you start scrubbing.
With the model number in hand, you can tell a 1956 Craftsman drill press from a 1970s one, and more importantly you can tell whether yours uses the earlier heavy castings or the later design. Owners on the classic Craftsman forums have mapped these by model number and year, and Sears PartsDirect still lists exploded diagrams for many of them.
The teardown that tells you the truth
Start the disassembly with the chuck and work up. Lower the quill, find the oblong hole through it, and drive the chuck and arbor out with a taper drift. Pull the spindle pulley, the center pulley, and the motor pulley, noting the belt path as you go. Remove the retaining ring and press the spindle out of the quill so you can reach the ball bearing at each end.
This is where the machine tells you the truth. Spin each ball bearing by hand. A bearing that feels gritty or catches is done; they are standard sizes and cheap to replace, so there is no reason to reuse a rough one. Check the quill for scoring. Check the head casting around the taper pin and the bed lock for cracks, which are rare but worth ruling out. Inspect the torsion spring and its spring cap; a spring that has lost its temper will not return the quill, and adjusting the spring on a vintage Craftsman drill press is a common first repair.
The locking switch and motor bracket deserve a look too. Old switches crack and old cords go brittle. If the insulation is cracked, replace the cord rather than tape it.
What to clean, what to replace
Once it is apart, the cleanup is genuinely satisfying. Degrease every casting, then tackle rust. For the small parts, a bath in a chelating rust remover does the work without scrubbing away good metal. Evapo-Rust is the one most restorers reach for because it pulls rust through chelation rather than acid, so it will not eat the parent steel if you leave a part in a little long. Its honest drawback is that it darkens some steel with a gray film, which wipes off but can startle you the first time. Rinse and dry parts fast afterward, because bare steel flash-rusts within the hour.
After the metal is clean and the table is flat, protect it. A wipe of Boeshield T-9 on the cast-iron table and column keeps flash rust away and lets the table slide the way it should. It leaves a slightly waxy film, so buff it before you set down a fresh workpiece or it can transfer.
Replace, do not restore, three things: the V-belt if it is glazed or cracked, any ball bearing that feels rough, and the chuck if the jaws no longer close concentrically. A worn chuck throws every hole off center no matter how true the rest of the machine is.
Reassembly and the first cut
Reassembly is the teardown in reverse, with fresh grease on the quill and a clean, dry taper before you seat the chuck. Seat the chuck by tapping the arbor into place with the jaws retracted and a block of wood protecting the nose. Do not use an arbor press; too much force distorts the chuck body.
Set the belt on the pulley step you use most, tension it so it deflects about half an inch under thumb pressure, and adjust the torsion spring so the quill returns smartly without slamming. Chuck a known-straight bit, drop it into a scrap of MDF, and check that it comes up clean and centered. That first square hole is the payoff.
Conclusion
A Craftsman vintage drill press rewards attention more than money. Identify it by model number, tear it down to the spindle and bearings, replace the belt and any rough bearing, clean and protect the iron, and reset the spring and belt tension. The castings that made these machines worth saving are the same ones that will outlast your newer tools.
Three takeaways before you start: photograph the model tag first, judge bearings by feel and replace anything gritty, and protect the bare iron the same day you clean it. Do that and a fifty-year-old press will drill straighter than plenty of new ones.
Frequently Asked Questions
How do I find the value of a vintage Craftsman drill press? Value tracks condition, completeness, and whether it runs. A complete, running floor model with an intact chuck and table is worth more than a bench unit missing its motor. The model number and originality drive most of the price.
How do I adjust the spring on a vintage Craftsman drill press? With the quill retracted, hold the spring cap, release its tension carefully, then rotate it to add or remove preload before locking it again. Add just enough that the quill returns fully without snapping back hard.
Where do I find parts for a 103 or 113 Craftsman drill press? Start with the model number. Sears PartsDirect lists exploded diagrams for many models, bearings and belts are standard sizes from any bearing supplier, and the classic Craftsman community documents interchange by model.
Is a 4-pulley vintage Craftsman drill press worth restoring? Usually yes, if the castings are sound. The multi-step pulley gives you a wide speed range, and those heads were well made. Cracked castings or a badly scored quill are the only real deal-breakers.
Can I replace the chuck on an old Craftsman press? Yes. Identify the arbor taper, drive the old chuck and arbor out, and fit a new chuck of the same taper. Most of these use a JT33 taper, but confirm before buying.
Why will not my quill return on its own? The torsion spring has either lost tension or lost its temper. Re-tension it first; if it still will not return the quill, the spring needs replacing.
References
- Jacobs Chuck Manufacturing, Mounting and Removing Chucks. http://www.jacobschuck.com/uploads/ueditor/file/20200604/1591240204146153.pdf
- CRC Industries, Evapo-Rust Rust Remover product information. https://www.crcindustries.com/evapo-rust/
- Sears PartsDirect, Craftsman drill press parts and diagrams. https://www.searspartsdirect.com


