
Turn a Drill Press Into a Spindle Sander: What Works and What to Watch
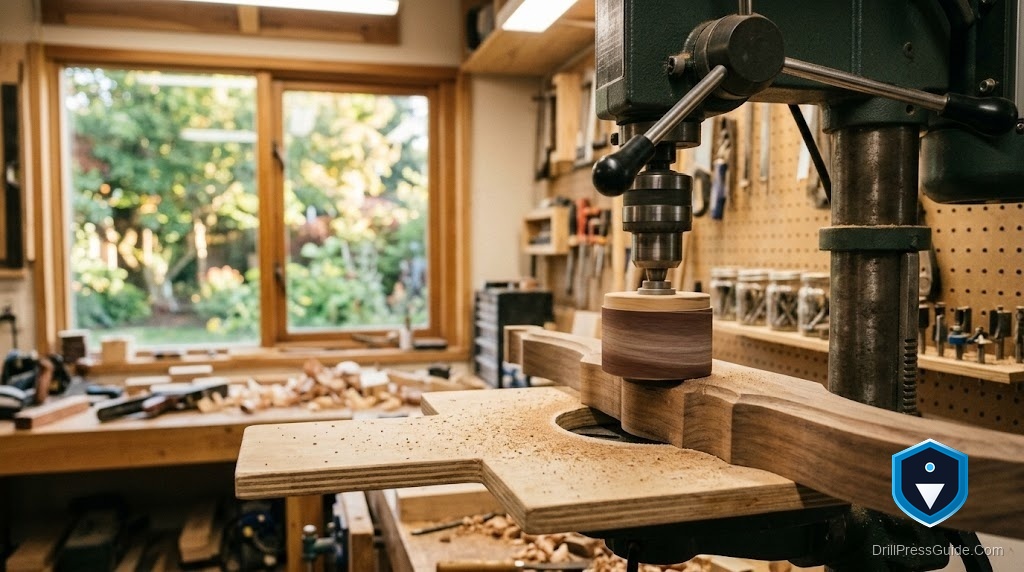
A sanding drum spinning in a drill press looks like the real thing from across the shop. Get closer, run a curved piece of poplar against it, and the gap shows up in about a minute. The drum digs a faint groove at one height because nothing moves up and down, and the quill starts to feel warm under your hand. You can turn a drill press into a spindle sander, and for a lot of shop work it earns its keep. The real skill is knowing what you are actually building, and the point where it stops being a smart idea.
A spindle sander spins an abrasive drum while raising and lowering it, so the whole height of the drum wears evenly and the edge of your workpiece stays square. A drill press fitted with a sanding drum spins that same drum at a fixed height. You get the sanding action, you skip the oscillation.
So here is the short version. To turn a drill press into a spindle sander, chuck a sanding drum into the keyed chuck, set the table so the drum’s working height sits over an opening or a sacrificial board, choose a slow to moderate speed, and feed the work against the drum with the piece flat on the table. It cleans up curves, bandsaw marks, and template edges nicely. What you give up is the up-and-down motion and any real dust collection, and you put side load on bearings that were built to push straight down, so keep the sessions short.
What the swap gets you, and what it quietly costs
The upside is real. A drum you already have to buy for a benchtop sander costs a fraction of the machine, and your drill press is already sitting there with a chuck and a flat table. For occasional curved edges, inside cutouts, and cleaning up a template line, it does the job.
The costs are just as real, and most product pages skip them. A drill press quill and its bearings are designed for downward thrust, not the constant sideways push of sanding. Lean on it hard for an hour and you shorten the life of those bearings. Because the drum never travels, it wears a ring at one height and can leave a faint ridge on tall stock unless you raise and lower the head by hand as you go. And there is no dust port, so fine sanding dust goes into the air and onto the table. None of that makes the conversion useless. It makes it a light-duty tool.
The parts that decide whether it fits
Start at the chuck. A standard keyed chuck grips the 1/4 inch steel shank on most drum arbors without any trouble, so almost any benchtop or floor press qualifies. Check your chuck capacity if you want to run a 1/2 inch shank drum, since some smaller chucks top out below that.
Spindle travel matters more than you would think. The few inches of quill travel are what let you hand-oscillate, lowering and raising the spinning drum to spread the wear. More travel means smoother results on taller edges.
One caution on taper-mounted chucks. If your chuck sits on an MT2 spindle taper rather than a threaded stud, heavy side load can work it loose and drop it. Keep pressure light, and stop if you feel the chuck shift.
The drum kits worth chucking in
For most shops the POWERTEC 71634 sanding drum kit is the sensible starting point. You get four rubber drums up to 2-1/2 inches long with 1/4 and 1/8 inch shanks and a case, and those longer drums are the ones that let you hand-oscillate across a tall edge. The honest flaw: the rubber drums can sit a touch off-center on the arbor, so a bargain sleeve will sometimes wobble until you seat it firmly.
If you do small, fussy work, look at a multi-piece aluminum-arbor sanding band set instead. It trades drum length for a big stack of sleeves in several grits, which is exactly what you want for jewelry-scale curves and model parts. Its weakness is the mirror image of the POWERTEC’s strength: the drums are shorter, so you get less room to spread wear on a tall edge, and the arbor nuts need a check now and then so they don’t loosen.
Put simply, the POWERTEC’s longer drums win for furniture-scale edges and template work, while the band set wins if you sand small inside curves and want spare grits within reach. Buy for the work you actually do, not the work you imagine.
Setting it up so you don’t cook the bearings
Drop the speed first. A big drum wants a slower speed than a drill bit, so shift the belt to a lower pulley or dial back a variable-speed model. Clamp or lay a sacrificial board with a clearance hole on the table so the drum can pass slightly below the surface, which lets you sand the full edge. Feed the work into the drum against its rotation, move the piece rather than forcing it in, and keep your fingers well clear of the rotating chuck. Every minute or so, raise and lower the head a little to move the wear band. Wear eye protection, because sanding throws fine grit. Keep sessions short and let the quill cool.
Who should skip this and buy the real thing
If you sand on nearly every project, work thick stock, or care about keeping dust out of the air, buy a dedicated benchtop oscillating spindle sander and save your drill press bearings. The conversion is for the woodworker who needs to smooth a curve now and then and would rather not give up the bench space or the money for a second machine. For that person it is a genuinely good answer. For a production shop it is a false economy.
FAQ
Will sanding on a drill press damage it? Light, occasional use is fine. The wear comes from constant side load on quill bearings built for downward force, so heavy daily sanding will shorten their life.
What speed should I use? Run slower than you would for drilling. Larger drums want lower speeds to avoid burning, and smaller drums can spin faster. If your press has steps or variable speed, start slow and raise it only if the cut feels weak.
Can I oscillate by hand? Yes. Gently raise and lower the head as the drum spins so the abrasive wears evenly and you avoid a ridge on tall edges.
Do I need a special table? No. A scrap board with a clearance hole for the drum works, and it protects both the drum and your table.
What size drums fit a drill press chuck? Drums with a 1/4 inch shank fit almost any keyed chuck. Check your chuck capacity before buying 1/2 inch shank drums.
Can I sand metal this way? Only light deburring. Metal loads the abrasive quickly and adds heat and side load, so it is not a substitute for a grinder or a proper sander.
References
- Fine Woodworking, “Sanding on the Drill Press”: https://www.finewoodworking.com/project-guides/shop-machines/shopmade-sanding-drums-for-the-drill-press
- POWERTEC 71634 Drill Press Sanding Drum Kit, product specifications: https://powertecproducts.com/71634-1-4-sanding-drum-kit-20pk/


