
How to Replace a Drill Press Quill Spring, Step by Step
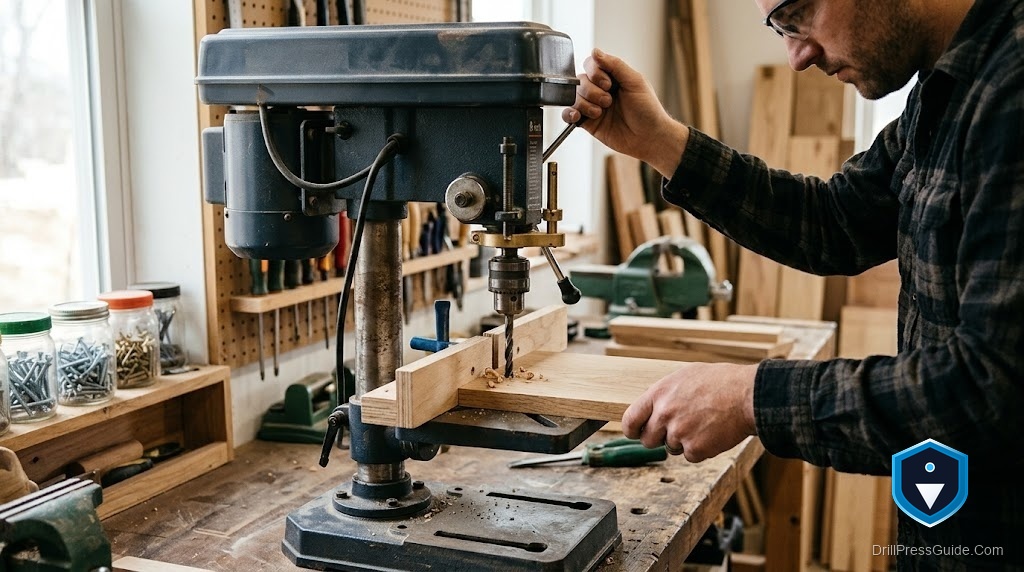
You pull the feed handle, the spindle drops into the wood, and then nothing. The quill just sits there instead of gliding back up on its own. Or worse, the handle spins loose and flops. That lazy quill is almost always one part giving up: the coiled quill spring hiding under a little cap on the side of the head. Learning how to replace a drill press quill spring is one of the most satisfying afternoon fixes on the machine, and you do not need a shop full of specialty gear to pull it off.
The quill spring (some people call it the return spring or the clock spring) is a flat ribbon of spring steel wound tight inside a housing. When you feed the quill down, you wind the spring; when you let go, it unwinds and lifts the quill back to the top. After years of flexing, that ribbon fatigues and snaps, usually right at the inner hook where it grabs the shaft. Once it breaks, the quill loses its return and the feed handle goes limp.
Here is the short version before we get into the steps. Turn the machine off and unplug it, relieve the spring tension in a controlled way, pull the cap and the old coil, seat a matching replacement into the housing, hook both ends, then wind in just enough tension to lift the quill without slamming it. Most benchtop and floor models follow that same sequence.
Find your model and serial number first
Before anything comes apart, hunt down the ID label. It is usually a metal or foil plate on the head casting or the column, and it carries the model number and serial number you will need to match a part. A Delta drill press quill spring is not the same size as a Craftsman drill press quill spring, and a Powermatic drill press quill spring assembly can differ again. If the label is long gone, you will be measuring the old part instead, which I cover below.
While you are looking, note whether your press changes speed by moving a belt across stepped pulleys or by a dial. You do not touch the speed change to do this job, but knowing your machine helps when you order parts.
Tools and a safe setup
Keep it simple. You want a screwdriver and wrench set, a non-marring mallet, a scrap wood block, safety glasses, and a pair of needle-nose pliers to coax the spring hooks. A wound coil under tension can whip if it gets loose, so glasses are not optional here. Tilt the table out of the way if the table tilt gets in your path, and give yourself clear room around the head.
Step by step: replacing the quill spring
1. Relieve the tension
Find the spring cap on the side of the head. It is a round cap, sometimes chromed, held by an outer nut or a couple of screws with a notched backing plate behind it. On many machines there is a scale seat near it held by two screws; pivot that out of the way first.
Hold the cap firmly against the casting so it cannot spin, then loosen the outer nut. Ease the cap out toward you a fraction of a turn at a time and let the tension bleed off slowly. This is the moment people get surprised, so respect it and let the spring relax rather than letting it fly.
2. Note the winding direction, then pull the old coil
Before you lift the old spring out, look at which way it is wound and how the inner hook sits in the slot on the shaft. Snap a photo. Putting a new spring in backwards is the single most common mistake, and it means doing the whole job twice. Lift the coil out of its cup. If it broke, fish out both pieces.
3. Seat the new spring
Set the replacement into the housing the same way the old one sat. Hook the inner end into the slot on the quill shaft first; a needle-nose pliers helps you guide that inner hook home. Then set the outer hook into its groove or over its pin. The coil should sit flat in the cup with both ends captured.
4. Wind in the tension
With both ends engaged, rotate the cap to wind the spring, then hold it while you snug the outer nut. Test the feed handle. The quill should return smoothly and fully without slamming. If it stalls partway, add a little more tension a notch at a time. Too much and the quill snaps up hard and wears the mechanism, too little and it will not climb all the way. You are aiming for a firm, controlled return.
Do you need to remove the chuck?
For most quill spring swaps, no. The chuck stays put. You only get into chuck removal if you are pulling the whole quill out of the head, or if a seized chuck is blocking your access window.
If you do need it off, how you replace a drill press chuck depends on the mount. A taper-mounted chuck rides on a Morse taper arbor (an MT2 arbor is common) or a Jacobs taper. Lower the quill so the slot, the spindle access window, lines up, then drive a taper drift (a flat wedge) through the slot with a mallet. The chuck and arbor pop straight down, so cradle them over a wood block. A threaded chuck instead unscrews: tighten the chuck jaws down on a hex key and strike it sharply counterclockwise with a non-marring mallet. Whether you run a keyed chuck or a keyless chuck, the removal method follows the mount, not the jaws.
Choosing a replacement spring
You have two honest paths. If your machine is a known brand with parts support, order the exact spring assembly by part number from the maker; the fit is perfect and you skip the guesswork. If your press is an orphan or an import with no support, a universal coil assembly is the practical answer. Measure the old spring’s outer diameter, its width, its thickness, and its relaxed length, then match the closest universal unit. Something like a universal coil quill return spring assembly such as this uxcell unit covers a lot of common benchtop sizes.
The honest drawback of a universal spring: the housing dimensions and hook positions rarely match your machine exactly, so you may spend time trimming a hook or fiddling the tension to get a clean return. If you own a supported Powermatic or Delta and can still buy the factory drill press quill spring assembly, skip the universal route and buy the correct part. The perfect fit is worth more than the wait.
Rewinding instead of replacing
People ask how to rewind a drill press quill spring, and yes, if the ribbon is intact and only slipped out of its housing, you can rewind it. Relax it fully, re-seat both hooks, and wind it back up as described above. If the steel has actually cracked or snapped, rewinding is a dead end. A fatigued spring that broke once will break again, so put a new coil in.
The verdict
Replacing a drill press quill spring is a high-reward, low-fuss repair that most owners can finish in under an hour once the head is open. Take your time on tension and winding direction and the machine feels new again.
- Kill the power and relieve spring tension slowly; a loose wound coil can whip.
- Photograph the winding direction and hook placement before the old spring comes out.
- Match a replacement by measuring outer diameter, width, thickness, and length, or buy the factory assembly if your brand supports it.
- You rarely need to remove the chuck; when you do, match the method to a taper or threaded mount.
FAQ
How do I replace a drill press quill spring if there is no cap on my model? Some presses hide the spring under a stamped cover rather than a chromed cap. Remove the feed handle hub and the cover screws, and the coil sits in a recess behind it. The tension-relief and winding steps are the same.
What size is a 1-1/2 by 1/4 drill press quill spring? That describes a coil roughly 1-1/2 inches across the housing with a 1/4 inch spring width. Measure your old one the same way, outer diameter first, then ribbon width, to confirm before ordering.
What is a 2-1/8 drill press quill spring assembly? It is a common benchtop size where the housing measures about 2-1/8 inches in diameter. Many import 10 and 12 inch presses land in this range, but confirm with your own measurement rather than assuming.
Can I use a Delta drill press quill spring on a Craftsman? Only if the dimensions and hook style match. Brand names on the box mean less than the actual outer diameter, width, and hook placement, so compare the physical spring, not the label.
How do I replace a drill press chuck while I am in here? Match the method to the mount. Drive a taper drift through the quill slot for a Morse or Jacobs taper chuck, or tighten the jaws on a hex key and rap it counterclockwise for a threaded chuck.
Where do I find a Powermatic drill press quill spring assembly? Start with the maker’s parts diagram using your model and serial number, which gives you the exact part. If the model is discontinued, measure and fit a universal coil assembly instead.
How tight should the spring be when I am done? Tight enough that the quill returns fully and smoothly on its own, loose enough that it does not slam up hard. Adjust in small increments and test the feed handle after each one.
References
- Delta and Powermatic drill press owner manuals and parts diagrams
- Jacobs, “Mounting and Removing Chucks” service guide
- Fine Woodworking, drill press maintenance and return spring discussions
- Popular Woodworking, drill press tune-up articles
- Practical Machinist and VintageMachinery.org drill press repair threads


