
How to Square a Drill Press Table: Setup, Checks, and Common Mistakes
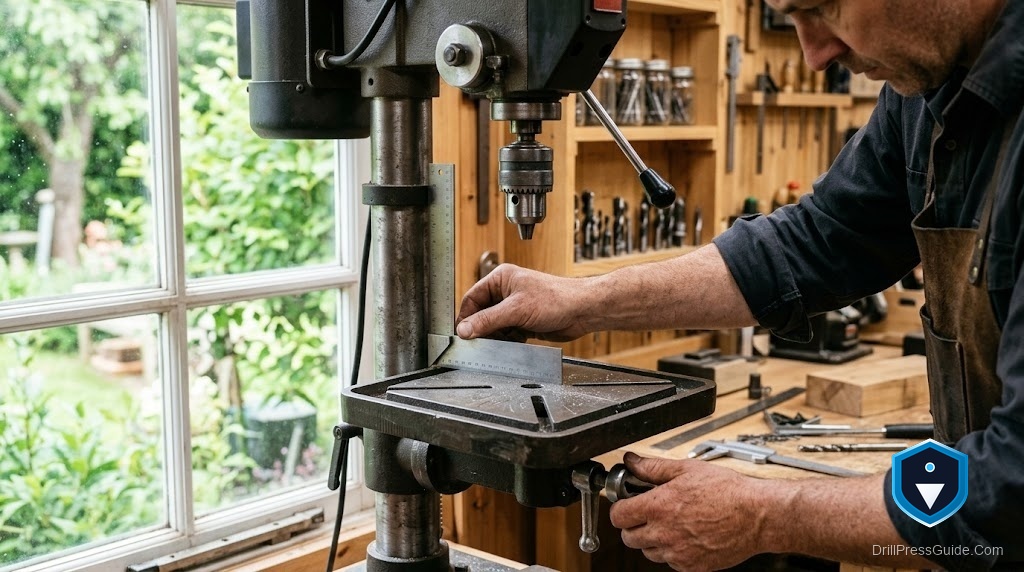
A leaning hole is one of those defects that hides until it matters. The table looked flat, the bit looked straight, and yet the dowel goes in cocked or the two mating parts do not line up. Nine times out of ten the culprit is a table that is not square to the bit. Squaring it takes a few minutes, and the process is easy to get subtly wrong, which is why the checks matter as much as the setup.
Squaring a drill press table means adjusting the work surface until it is perpendicular to the spindle centerline, so the bit meets the work at a true ninety degrees. The table pivots on its bracket against the column, and small tilts there change the angle the bit sees. The aim is a surface that is dead perpendicular to the bit, confirmed by measurement rather than by eye.
Short answer: put a long bent rod in the chuck and use it to compare the gap to the table on opposite sides of the hole, adjusting the table until the gaps match front-to-back and side-to-side. Then lock it and re-verify. That long-lever check catches errors a small square hides.
Setup: get the machine ready
Before measuring, prepare the press so nothing throws the reading off.
Switch the machine off and remove any bit. Clear the table of the vise, clamps, and chips, since anything under your reference surface skews the result. Wipe the cast table clean. If you use an MDF auxiliary table, either remove it to square the metal first or make sure it sits perfectly flat on the cast table, because you can only square the surface the work actually rests on.
The check that actually works
- Chuck a straight steel rod and bend its lower end into an L so it points sideways several inches from center.
- Rotate the chuck by hand until the pointer reaches the table on the left; note the gap between the tip and the table.
- Rotate 180 degrees to the right and compare the gap.
- Loosen the table’s bevel bolt and tilt the table until the two gaps are equal.
- Repeat the same check front-to-back, adjusting until that matches too.
- Lock the bevel bolt firmly and re-run both checks, because locking can shift the setting slightly.
The long rod is the trick. It turns a tiny angular error into a wide, obvious gap difference, so you can dial the table far closer than pressing a short square against the bit ever allows.
Common mistakes
The honest list of what goes wrong:
- Trusting the bevel scale. The zero mark is a starting point, not the truth. Factory marks are often a degree or two off. Always confirm with the rod.
- Checking only one axis. A table can be square side-to-side and tilted front-to-back. Check both.
- Not re-testing after locking. Tightening the bevel bolt can nudge the table. Verify after you lock it.
- Squaring on top of clutter. A chip or an unflat auxiliary table under the rod gives a false reading.
When you cannot get it square
If the table will not come square no matter how you adjust, the problem may be a worn bracket, a burr on the pivot, or a bent column. Clean and inspect the pivot before assuming the casting is bad. For checking and for repeatable setups afterward, some shops keep a small reference square and a fence table handy. You can compare a machinist square set for verification and a drill press table with fence for repeatable work once the base is square.
Who needs to do this
If your holes lean or your press has ever been tilted for an angled hole, square it now. If the press is new, square it before the first real job. Resume drilling only with the work clamped and eye protection on, per CCOHS and OSHA.
Bottom line
Squaring a drill press table is quick, but the bent-rod check and the discipline of testing both axes and re-verifying after locking are what make it stick. Do not trust the scale; trust the equal gap. Get it square once and every hole afterward goes in true.
- Use a long bent rod to magnify tilt into a visible gap.
- Check both side-to-side and front-to-back, then re-test after locking.
- Never trust the bevel scale’s zero; confirm by measurement.
FAQ
What is the most accurate way to square a drill press table? A long bent rod in the chuck compared against the table on opposite sides of the hole. It magnifies small tilts a short square would miss.
Why are my drilled holes leaning? Usually the table is not perpendicular to the bit. Square it with the rod method on both axes.
Can I just use the bevel scale? No. The zero mark is only a starting point and is often off. Confirm with a measured check.
Do I check one direction or two? Both. A table can be square side-to-side but tilted front-to-back, so verify each axis.
Why does it go out of square after I tighten it? Locking the bevel bolt can shift the table slightly. Re-run the check after locking and fine-tune.
What if it won’t square at all? Inspect the pivot bracket for wear or a burr and clean it. A bent column or worn bracket can prevent squaring.
References
- WEN 24 x 12-Inch Drill Press Table with Adjustable Fence and Stop Block: https://wenproducts.com/products/24-by-12-inch-drill-press-table-with-an-adjustable-fence-and-stop-block-t
- IBUILDIT Drill Press Table Plans: https://ibuildit.ca/plans/drill-press-table/
- Woodsmith Drill Press Table Plan: https://www.woodsmithplans.com/plan/pw-drill-press-table/


