
Planning a DIY Drum Sander for Drill Press: What the Drawings Need to Show
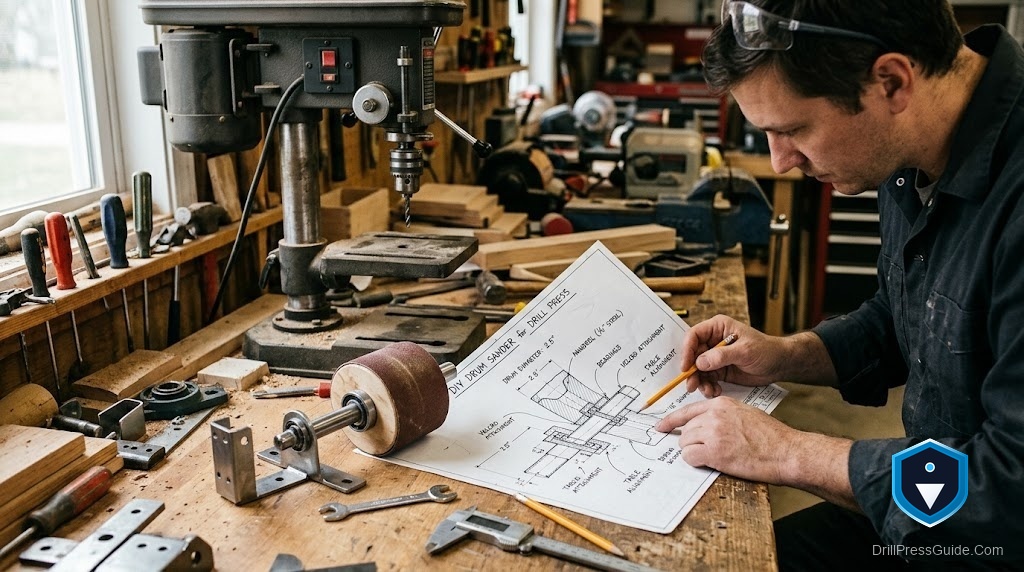
Drum sanding on a drill press, spinning a sanding drum in the chuck to smooth curves and edges, is a tempting way to get more from a machine you already own. It can work for light shaping, but it comes with a genuine caution that any honest plan must address: a drill press is built to take downward force, not the sideways force sanding creates, so a good drum-sanding setup is as much about protecting the machine and working safely as it is about the drum itself. Here is what the drawings and plan need to show.
A DIY drum sander for a drill press is a setup that mounts a sanding drum in the chuck and adds a table or support so the drill press can sand curved edges and surfaces. Useful drawings need to show the drum and how it is held, a table with an opening so the drum’s full length is used, how the work is supported and guided, and how side load on the spindle is kept light.
Short answer: the drawings need to show the sanding drum mounted securely in the chuck, a flat auxiliary table with a clearance hole so you can sand against the drum and use its whole length, a way to support and guide the workpiece, and guidance to keep side pressure gentle, because a drill press spindle and bearings are not built for heavy side loads. Protecting the machine and working safely are as important as the sanding surface.
Show the drum and how it is held
The drawings must first show the sanding drum and how it is secured in the chuck, because that is the working element. A drum sander for a drill press is typically a rubber or foam drum with a replaceable abrasive sleeve, mounted on an arbor gripped in the chuck. The plan should show the drum sized for the work and the arbor seated fully and tightened so the drum runs true and cannot slip. It should show the drum running with low runout, since a wobbling drum sands unevenly and adds vibration. Drawings that clearly show a securely held, true-running drum are the starting point, because everything else supports getting clean contact between that drum and the work.
Show a table with a clearance opening
The key addition that makes drill press drum sanding useful is a flat auxiliary table with a hole the drum passes into, and the drawings need to show it. The opening lets the drum extend below the table surface so you can sand the full edge of a workpiece and use the drum’s entire length, rather than only its lower tip, which also spreads wear along the sleeve. The table should be flat, mount solidly to the drill press table, and have the drum centered in the opening. Some plans show an insert with different-sized holes for different drums. Drawings that show a flat table with a proper clearance opening are what turn a drum in the chuck into a genuine edge-sanding setup.
Show work support and guiding
The drawings need to show how the workpiece is supported and guided against the drum, because control is what makes the results clean and the work safe. The flat table supports the work from below; for straight edges the plan may show a fence or a pivot point to guide the piece into the drum smoothly. It should show the operator feeding the work against the drum’s rotation and keeping hands clear of the drum. Because the work is usually moved by hand here rather than clamped, guiding aids and hand placement matter. Drawings that show good support and a way to guide the work help you sand accurately while keeping fingers away from the spinning drum.
Show how side load is kept light
This is the caution a responsible plan must make explicit: a drill press spindle and its bearings are designed for downward drilling force, not sustained sideways force, so the drawings or notes need to show that side pressure against the drum should be kept light. Heavy side loading can wear the spindle bearings over time and is not what the machine is built for, so the setup should encourage gentle, patient sanding, removing material in light passes rather than forcing the work hard against the drum. The plan should also show a sensible speed for sanding and dust control if possible. Making clear that this is light-duty use, gentle on the spindle, is what keeps drum sanding on a drill press honest and machine-friendly.
Conclusion
Planning a DIY drum sander for a drill press is about showing a securely held, true-running drum, a flat table with a clearance opening so you use the drum’s full length, good support and guiding for the work, and, crucially, guidance to keep side load light, because a drill press is built for downward force, not heavy sideways pressure. A plan that shows all of that gives you a genuinely useful light-duty edge sander while protecting the machine’s bearings and keeping the work safe. Insist on drawings that address the side-load caution as clearly as the drum and table, and drill press drum sanding becomes a sensible way to smooth curves within its honest limits.
Frequently asked questions
Can I use a drill press as a drum sander? Yes, for light-duty edge and curve sanding, with a drum in the chuck and a table with a clearance opening. But keep side pressure gentle, since a drill press is built for downward force, not heavy sideways load.
Why does the table need a hole? So the drum extends below the table surface, letting you sand the full edge of a workpiece and use the drum’s whole length rather than only its tip, which also spreads wear along the abrasive sleeve.
What is the main caution with drill press drum sanding? That the spindle and bearings are designed for downward drilling force, not sustained side loads. Heavy side pressure can wear the bearings, so sand gently in light passes rather than forcing the work.
How is the drum held? On an arbor gripped in the chuck, seated fully and tightened so the drum runs true and cannot slip. A wobbling drum sands unevenly and adds vibration, so low runout matters.
How do I guide the work safely? Support it on the flat table, use a fence or pivot for straight edges, feed against the drum’s rotation, and keep hands clear of the spinning drum, since the work is often moved by hand here.
Is drum sanding on a drill press a permanent solution? It is fine for light, occasional shaping within the machine’s limits. For heavy or frequent sanding, a purpose-built spindle or drum sander that is designed for side loads is the better tool.
References
- OSHA, Machine Guarding eTool: Drill Presses, osha.gov
- Forest Products Laboratory, wood machining and sanding references, fpl.fs.usda.gov


