
Drill Press Stand Plans: A Build Plan Focused on Accuracy
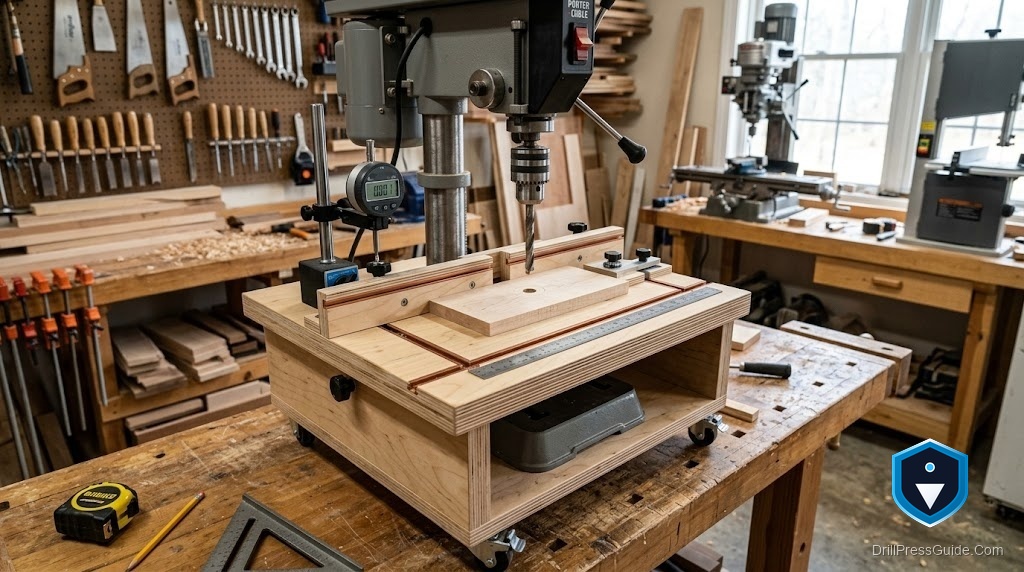
A benchtop drill press does its best work at the wrong height on a surface that may flex, and a floor stand fixes both. But a stand is not just a shelf with legs; it is part of the machine’s accuracy chain, because any movement or flex under drilling force shows up in the hole. Good stand plans are built around that truth. This plan focuses on the thing that matters, a rigid, stable base at a comfortable height, and explains why each element is shaped the way it is so you can size it to your own machine.
A drill press stand is a shop-built floor stand that a benchtop drill press bolts to, raising it to a comfortable working height on a rigid, stable base. Accuracy-focused plans call for a frame that will not rack, a footprint wider than the machine, mass kept low, a flat solid mounting top, and the machine bolted down square and immovable.
Short answer: the plans should build a rigid, braced frame with a footprint wider than the drill press base, keep weight low for stability, fit a thick flat top, and bolt the machine firmly to it, then level and verify. Because a drill press is top-heavy and drilling force pushes on it, rigidity, a wide base, and low mass are the accuracy essentials the drawings must specify.
Size it to you and the machine
Good plans start with dimensions driven by your body and your machine, not a generic number. The height should put the chuck and the table where you work comfortably standing, so the drawings should let you set it from your own stance. The footprint should be wider than the drill press base in both directions, because a top-heavy machine on a narrow base can tip, and the plans should show that margin. A lower shelf belongs in the drawings too, for storage and for keeping mass low. Plans that fix these dimensions to you and the machine produce a stand that is both comfortable and stable, which is why the sizing choices come first.
Build a frame that will not rack
The frame is where accuracy is won, so the plans must build it to resist racking, the twisting that lets a square stand lean under side load. Look for dimensional lumber or thick plywood, or welded steel, with every joint glued and screwed or welded, and with diagonal braces or corner gussets, because a plain four-legged box racks while a braced one stays square. The plans should keep the legs stout so they do not flex. A frame that stays dead square when shoved hard is the single biggest contributor to accuracy, so accuracy-focused plans spend their detail here, specifying the bracing rather than leaving it to guesswork.
Add low mass and a solid top
The plans should build a lower shelf into the frame, both for storage and, importantly, to carry weight near the floor, since low mass damps vibration and resists tipping, both of which protect accuracy. If the stand stays put, the plans can suggest loading the shelf or adding ballast. They should specify a thick, flat mounting top, laminated plywood or a steel plate, sized for the machine’s base and flat enough that the press seats fully without rocking. A rocking machine on a flexy top moves micro-amounts under load, exactly the movement that spoils holes. Plans that call for low mass and a solid top turn a rigid frame into a genuinely steady platform.
Mount, level, and verify
Good plans finish with mounting and verification, not just the build. The machine should bolt to the top through its base holes so it is held square and immovable, never by friction. The finished stand should be leveled on the floor, with feet shimmed or adjusted so it does not rock and the machine sits true. The plans should call for leaning on the machine hard to confirm the whole assembly is solid, squaring the table to the bit, and drilling a test hole. Because wood moves and bolts settle, they should note re-checking over time. This closing verification is what turns a good build into an accurate one, so accuracy-focused plans include it.
Conclusion
Accuracy-focused drill press stand plans treat the stand as part of the machine, not just furniture. They size it to your working height with a footprint wider than the press, build a frame that will not rack, add a low shelf for mass and a thick flat top, then bolt the machine down, level the stand, and verify it is rock solid, with a note to re-check as the wood moves. Understand why each element is shaped the way it is and you can adapt any plan to your own machine, ending up with a stand that does more than free your bench: it gives the drill press the steady, square base it needs to drill as accurately as it was designed to.
Frequently asked questions
What should accuracy-focused drill press stand plans specify? A frame that will not rack, a footprint wider than the machine, mass kept low, a thick flat mounting top, and steps to bolt the machine down, level the stand, and verify it is solid.
How tall should the stand be? Tall enough that the chuck and table sit at a comfortable working height for you standing. Good plans let you set the height from your own stance rather than a generic figure.
Why is a non-racking frame so important? Because any movement of the machine while drilling becomes a wandering or angled hole. A braced frame that stays square keeps the machine steady, making the stand part of the accuracy chain.
Why keep mass low? Mass near the floor damps vibration and resists tipping, both of which protect accuracy. That is why the plans include a lower shelf and may suggest ballast for a fixed stand.
How should the machine attach to the stand? Bolted through its base holes to a thick, flat top so it seats fully and cannot rock. Friction alone lets the machine shift under load and drill inaccurately.
Do the plans need a verification step? Yes. Level the finished stand, lean on the machine to confirm it is solid, square the table, drill a test hole, and re-check over time, since wood moves and bolts settle.
References
- Forest Products Laboratory, wood construction references, fpl.fs.usda.gov
- OSHA, Machine Guarding eTool: Drill Presses, osha.gov


