
DIY Drill Press Table and Fence: A Build Plan Focused on Accuracy
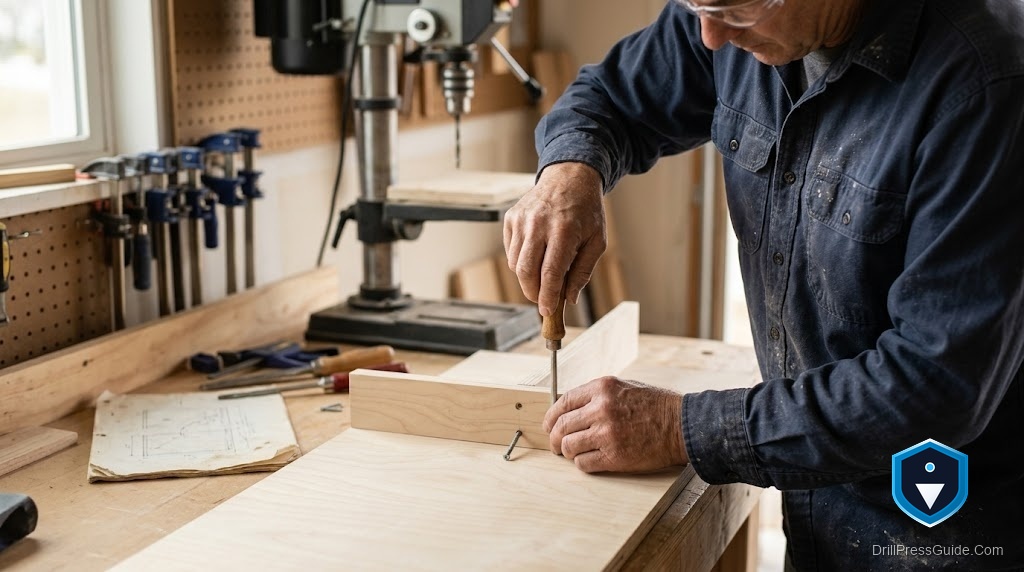
The factory table on most drill presses is small, slick, and has a hole right where you want support. Add a shop-built table with a real fence and the machine transforms: you get a broad flat surface, a straight edge to register work against, and repeatable, tearout-free holes. The reason to build your own rather than settle is accuracy, so this plan keeps that goal in front at every step, because a table and fence are only worth having if they stay flat and square.
A DIY drill press table and fence is a shop-built work surface that mounts on the factory table, adding a larger flat area and a straight, adjustable fence that locks parallel and square to the spindle. Building it for accuracy means a dead-flat top, a fence that is truly straight and locks without shifting, a replaceable insert under the bit, and the whole assembly squared to the spindle.
Short answer: build a flat laminated top, add a straight fence that rides in a track and locks square, fit a replaceable insert under the spindle, and mount and square everything to the machine. The accuracy lives in a flat top and a fence that does not flex or shift, so those two elements deserve the most care.
Build the flat top first
Everything references the top, so its flatness sets the whole table’s accuracy. Laminate two layers of MDF or good plywood with glue, clamped flat, into a stiff panel that resists warping, then trim it square to a size that supports your work without hitting the column. Plan the fence track and the insert opening into the top before assembly, since cutting them cleanly during the build is far easier than retrofitting. A hardwood edge adds durability if you want it. Take the time to get the top truly flat, because a warped top cannot be corrected later and quietly undermines the fence, the insert, and every hole you drill.
Make the fence straight and locking
The fence is what turns a table into a precise positioning tool, so build it from straight, stable stock, tall enough to support your work on edge. Fit it to slide and lock, most simply in a T-track set into the top, so you can position it and then lock it firmly parallel and square to the spindle. Check it clears the chuck and column through the full spindle travel, a routine oversight. A gap or slot in the fence at the bit lets you drill close to the fence and helps clear dust. A fence that is dead straight and locks without creeping is the difference between repeatable, positioned holes and ones that drift, so do not accept any flex here.
Fit the insert and plan for stops
Cut an opening directly under the spindle and fit a snug, flush replaceable insert, a small square of the same material, so you can back up the work to prevent tearout and swap the insert when it fills with holes. If you want stops for repeatable hole positions along the fence, plan their track or hardware now while the top is open, rather than adding them awkwardly later. Keeping the insert flush and the stops integrated means the working surface stays flat and the fence system stays accurate, which is the point of building the table in the first place.
Mount, square, and verify
Mount the top securely to the factory table, bolting through its existing holes or slots into inserts or captured nuts in the top, never relying on friction, and countersink fasteners flush so nothing snags. Then square the table to the spindle with a reliable square, adjusting or shimming until the surface is perpendicular to the bit, and confirm with a test hole in scrap. Set the fence square and verify it too. Confirm the mounted assembly sits flat and does not rock. This final squaring is what converts a well-built table and fence into an accurate one, so give it the few minutes it deserves before trusting the setup on real work.
Conclusion
A DIY drill press table and fence pays off every time you drill, provided you build it for accuracy. Make a dead-flat laminated top first, add a straight fence that rides in a track and locks square without flexing, fit a flush replaceable insert, and plan stops in while the top is open. Mount it solidly to the factory table and square the whole thing to the spindle, confirming with a test hole. Keep flatness and a non-shifting fence as the priorities and the result is a broad, precise surface that gives you positioned, repeatable, tearout-free holes, which is exactly why building your own beats living with the bare factory table.
Frequently asked questions
What makes a drill press table and fence accurate? A dead-flat top and a fence that is truly straight and locks square without shifting. Those two elements, plus squaring the table to the spindle, determine how accurately you can position and drill holes.
How should the fence attach? Most simply in a T-track set into the top, so it slides to position and then locks firmly parallel and square to the spindle. Confirm it clears the chuck and column through the full travel.
What material should the top be? Two laminated layers of MDF or plywood, glued flat, for a stiff panel that resists warping. Flatness is critical since it sets the table’s accuracy and cannot be fixed later.
Why fit a replaceable insert? An insert under the bit backs up the work to prevent tearout on exit and can be swapped when it fills with holes, keeping the drilling point clean and supporting small parts.
How do I keep the fence from moving during use? Build it straight and stiff and give it a solid locking method in the track, then check it does not creep under load. A fence that flexes or shifts scatters hole positions.
Do I need to square it after mounting? Yes. Check the surface is perpendicular to the bit with a square, adjust or shim as needed, confirm with a test hole, and square the fence too before trusting the setup.
References
- Forest Products Laboratory, wood machining and construction references, fpl.fs.usda.gov
- OSHA, Machine Guarding eTool: Drill Presses, osha.gov


