
How to Make a Drill Press Jig: What to Check Before You Start
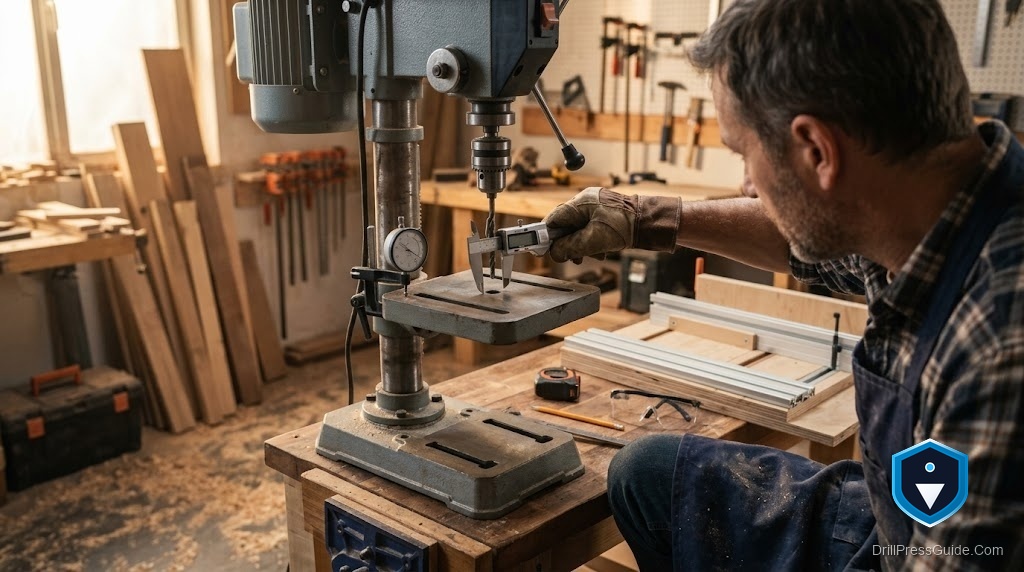
Plenty of drill press jigs get built in a hurry and then quietly disappoint: the holes drift a little from part to part, the fence flexes, the jig slides on the table at the worst moment. Almost every one of those failures traces to something that should have been thought through before the first cut. Making a jig that actually holds accuracy is not hard, but it rewards a few checks up front, because a jig exists to be trusted for repeat after repeat, and trust is built into it from the start.
A drill press jig is a shop-built fixture that holds and positions a workpiece the same way for every hole, using a fence, stops, and clamps so holes land in consistent, repeatable spots. Making one well means checking the job, the references, the clamping, and how the jig registers on the table before you build, so the finished jig repeats reliably.
Short answer: before you start, check exactly what the jig must repeat, how it will reference the workpiece, how it will register on the drill press table, and how it will clamp the work. Confirming those four things up front prevents the drift, flex, and slipping that ruin a rushed jig, and it makes the build itself simple and the results consistent.
Check what you actually need to repeat
The first thing to nail down is the job, because it dictates the whole design. Are you drilling the same hole in many identical parts, a row of evenly spaced holes in one workpiece, or a hole a fixed distance from an edge? Each needs a different jig: locating pockets or stops for identical parts, an indexing stop for evenly spaced holes, a fence at a set distance for edge-referenced holes. Deciding this before building avoids the classic waste of making a jig that half-fits the task and then reworking it. Match the jig type to the real job first, and everything after is straightforward.
Check how it references the work
Next, plan the references, the fence and stops that fix the workpiece position, because their accuracy and stability become the accuracy of every hole. Check that the fence will be straight and stiff enough not to flex, and that the stops can be placed exactly where the hole should fall and fastened so they cannot shift. Decide whether you need adjustable references for varied parts or fixed ones for a single repeated job. A reference that flexes or moves defeats the whole purpose, so choosing stable, straight, solidly fastened stock for the fence and stops is a check worth making before you cut anything.
Check how it registers and clamps
Two checks prevent the most common in-use failures. First, how will the jig itself sit on the drill press table the same way every time? Plan to clamp it to the table or register it against the table’s edge or slots, never let it float, because a jig that slides between parts scatters the holes. Second, how will the workpiece be held in the jig identically each time? Plan a clamp, hold-down, or toggle that grips it firmly against the references. Confirming both registration and clamping before building is what lets you load part after part and trust each hole, and it also keeps your hands safely clear of the bit.
Check materials, fit, and safety before cutting
Finally, gather what you need and think through fit and safety. Use stable, flat stock so the jig does not warp, and have the fasteners, clamps, or T-track and knobs on hand so you are not improvising mid-build. Check that the jig will clear the chuck and column through the drill’s travel, a common oversight that only shows up after building. Plan for a replaceable backing or insert under the bit if the jig supports the work directly, to prevent tearout and protect the table. And make sure the design keeps hands out of the drilling zone. These checks turn a good idea into a jig that is accurate, safe, and pleasant to use.
Conclusion
Making a drill press jig goes smoothly when you check four things before the first cut: what the jig must repeat, how it references the workpiece, how it registers on the table, and how it clamps the work. Those checks head off the drift, flex, and slipping that quietly ruin rushed jigs. Add a quick look at materials, clearance, and safety, and the build itself becomes simple, a stable fence, accurately placed stops, solid registration, and a firm clamp. Do the thinking up front and the jig rewards you with identical holes part after part, which is the entire reason to make one rather than mark and drill by hand.
Frequently asked questions
What should I decide before building a drill press jig? Exactly what it must repeat, how it will reference the workpiece, how it will register on the table, and how it will clamp the work. Those four decisions shape the whole design.
How do I keep the holes from drifting between parts? Make the references, fence and stops, straight, stiff, and solidly fastened, register the jig on the table the same way every time, and clamp the workpiece firmly so nothing shifts.
What kind of jig do I need for evenly spaced holes? One with an indexing pin or movable stop that advances the part a fixed distance for each hole, so the spacing is set by the jig rather than measured every time.
Why does the jig need to be clamped to the table? Because a jig that floats slides between parts and scatters the holes. Clamping it to the table or registering it against the table’s edge or slots keeps it located.
What materials should I use? Stable, flat, straight stock that will not warp or flex, plus solid fasteners and clamps or T-track and knobs. A flexing fence or warped base undermines accuracy.
How do I make sure the jig is safe? Design it to hold the work with a clamp so your hands stay out of the drilling zone, check it clears the chuck and column, and add a backing insert under the bit to protect the table.
References
- Forest Products Laboratory, wood machining references, fpl.fs.usda.gov
- OSHA, Machine Guarding eTool: Drill Presses, osha.gov


