
How to Build a Drill Press Table, Step by Step
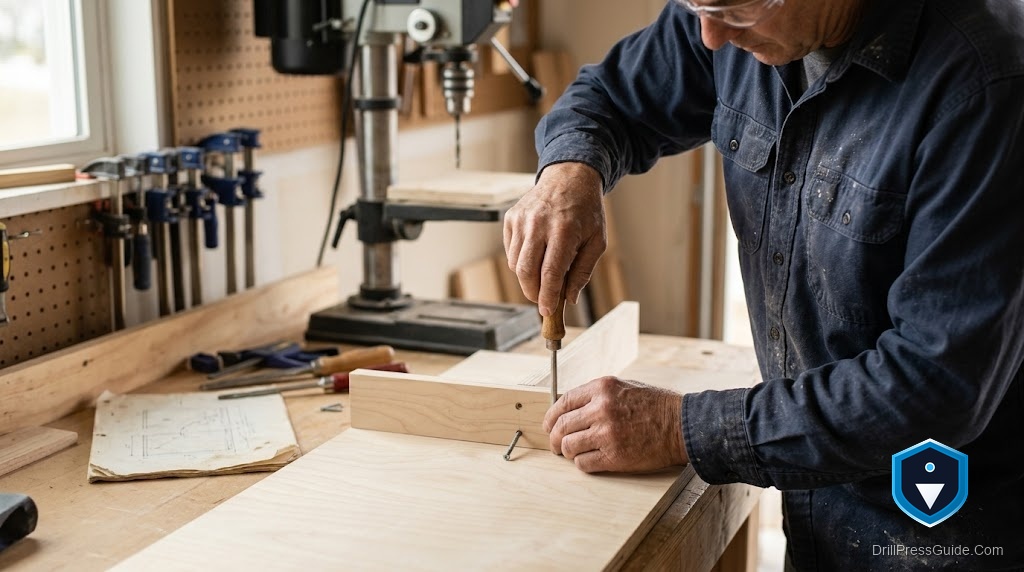
The factory table on a drill press is built for metalwork, and for woodworking it is almost comically inadequate: too small, no fence, no way to stop tearout, and a hole in the middle that eats small parts. Building your own table is the fix, and it is a project almost anyone can complete in a weekend with basic tools. Done in the right order, with attention to the few things that actually matter, you end up with a flat, fenced, accurate surface that makes the drill press a genuinely better machine. Here is how to build one, step by step.
Building a drill press table means constructing an auxiliary wooden top that mounts on the factory table, adding a larger flat work surface, an adjustable fence, and a replaceable insert. The steps run from measuring your machine, through cutting and laminating a flat top, fitting the fence and insert, mounting the table securely, and finally squaring it to the spindle so it drills straight.
Short answer: measure your machine, build a flat laminated top with a replaceable insert under the spindle, add a straight fence that locks square, mount the table solidly to the factory table, and square it to the spindle. Follow those steps in order, and the details, dust collection, T-track, stops, become easy additions rather than afterthoughts.
Step 1: Measure and plan
Start by measuring your drill press: the factory table size, its mounting holes or slots, the column position, and the table’s height range. Decide the top’s dimensions from your work, large enough to support the panels you drill but not so large it fouls the column or becomes unwieldy. Sketch where the fence travels and where the insert sits, directly under the spindle, and confirm the fence will clear the chuck and column throughout its travel. This planning step prevents the two classic mistakes: a table that hits the column and a fence that will not sit square.
Step 2: Build a flat top
Cut two pieces of MDF or plywood to size and laminate them with glue, clamped flat until dry, because a flat, stiff top is the foundation of the table’s accuracy. Trim the edges square. If you want a durable surface, add a hardboard or laminate skin. Cut the opening for the insert directly under where the spindle will be, sized so a snug replaceable insert drops in flush. A top that is flat and stiff, with a clean insert opening, is most of a good table; skip flatness here and nothing downstream can recover the accuracy.
Step 3: Fit the fence and insert
Make a straight fence from stable material, and fit it so it adjusts across the table and locks square to the spindle. The simplest reliable fence rides in a T-track or clamps at the edges; either works if it locks firmly and stays straight. Cut and fit the replaceable insert so it sits flush with the top, since a proud insert lifts the work and a sunken one leaves a gap. Make a few spare inserts while you are at it. Test the fence lock and the insert fit before mounting, adjusting until the fence sits straight and the insert is flush.
Step 4: Mount it securely
Mount the table to the factory table so it cannot shift, bolting through the factory table’s existing holes where possible, or using sturdy cleats and clamps. Countersink any fasteners flush so nothing snags the work. Avoid relying on friction alone, because a table that creeps under load ruins every hole. A solid, positive mounting is what lets the table stay square once you set it, so take the time to make this connection genuinely rigid rather than quick.
Step 5: Square it and test
With the table mounted, square it to the spindle: adjust or shim the mounting until the surface is perpendicular to the bit, and set the fence square to your reference. Verify with a test hole in scrap, checking that it is straight and that the insert backs up the exit cleanly. Re-check squareness after the first few uses, since wood moves and hardware can settle. This final step is what turns a flat, solid table into an accurate one, so do not skip it in the rush to use the new table.
Conclusion
Building a drill press table is a straightforward weekend project as long as you work in order and respect the few things that matter. Measure your machine first, build a flat laminated top with a flush replaceable insert, fit a straight fence that locks square, mount the table solidly so it cannot shift, and square it to the spindle before trusting it. Each step protects the accuracy the table exists to add, and once the core is right, dust ports, T-track, and stops are easy extras. Follow the sequence and you convert a small, awkward factory table into a flat, fenced, precise surface that makes the whole machine more capable.
Frequently asked questions
What do I need to build a drill press table? MDF or plywood for a laminated top, material for a straight fence, T-track or cleats and clamps for mounting and the fence, and basic hardware. Basic tools are enough for the build.
What is the right order to build it? Measure and plan, build a flat top with an insert opening, fit the fence and insert, mount the table securely, then square it to the spindle and test. Working in order avoids rework.
Why laminate two layers for the top? Two glued layers of MDF or plywood give a flat, stiff surface that resists sagging, and flatness is the foundation of the table’s accuracy.
How do I keep the fence square? Ride it in a T-track or clamp it at the edges so it locks firmly and stays straight, then set it square to the spindle and verify with a test hole.
How should I attach the table to the machine? Bolt through the factory table’s existing holes where possible, or use sturdy cleats and clamps. Do not rely on friction, since a table that shifts under load ruins accuracy.
Do I have to square it after mounting? Yes. Adjust or shim until the surface is perpendicular to the bit and test on scrap. Re-check after the first few uses, since wood moves and hardware settles.
References
- Forest Products Laboratory, wood machining and movement references, fpl.fs.usda.gov
- OSHA, Machine Guarding eTool: Drill Presses, osha.gov


