
Drill Press Table Plans: Layout, Hardware, and Setup Choices
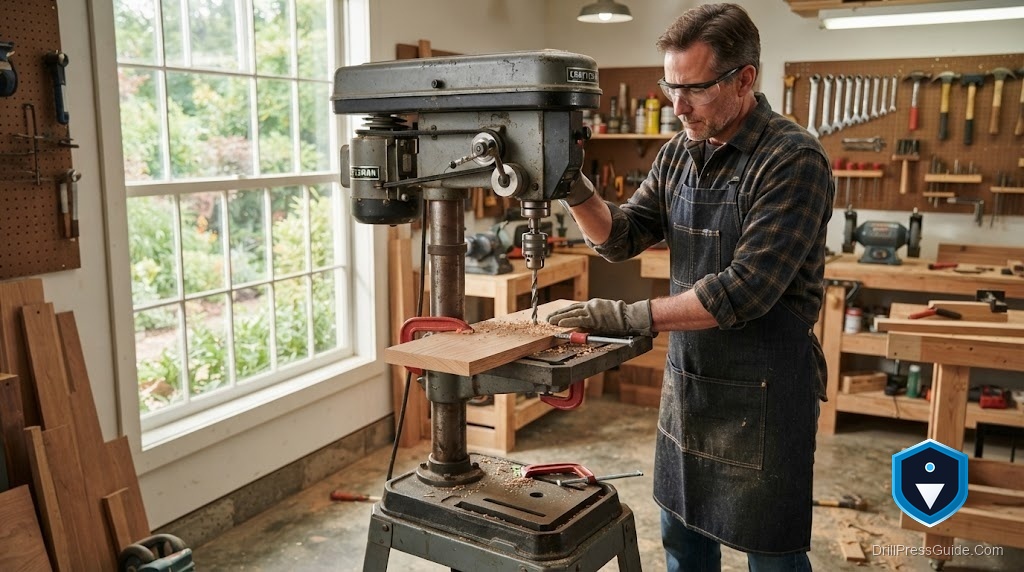
The small cast iron table that comes on most drill presses is fine for metal, but for woodworking it is frustrating: too small to support a panel, no fence, no way to back up a hole to stop tearout, and a hole in the middle that swallows small parts. That is why a shop-built drill press table is one of the most popular first projects a woodworker takes on, and why good plans matter. A well-designed table turns an awkward machine into a precise, genuinely useful one, and it starts with understanding what the plans need to get right.
Drill press table plans are the drawings and specifications for building an auxiliary wooden table that mounts on top of, or replaces, the factory drill press table, adding a larger flat work surface, a fence, replaceable inserts, and often hold-down and dust features. Good plans specify the layout, materials, and hardware so the finished table is flat, square to the spindle, and easy to use.
Short answer: good drill press table plans center on a flat, stable top, a straight adjustable fence, and a replaceable center insert, mounted securely and squarely to your specific machine. Get those three elements right, plus solid hardware, and the table transforms the machine. The rest, dust collection, stops, and storage, are useful additions, not the core.
What the plans must get right
Three things carry the whole design. First, a flat, stable top, usually two layers of MDF or plywood laminated for stiffness, because any warp or flex ruins the accuracy the table exists to provide. Second, a straight fence that adjusts and locks square to the spindle, since the fence is what makes repeatable, positioned holes possible. Third, a replaceable insert at the drilling point, so you can back up the workpiece to prevent tearout and simply swap the insert when it fills with holes. Plans that nail these three, and mount the whole thing solidly to your machine, produce a table worth building; plans that skimp on flatness or fence squareness produce frustration.
Layout choices that matter
Size the top to your work and your machine, big enough to support the panels you drill without overhanging so far it becomes unwieldy or blocks the column. Position the fence so it clears the chuck and column through its travel, and decide whether it is fixed or removable. Choose whether to include a T-track for stops and hold-downs, which adds versatility at the cost of a little complexity. Plan the insert location directly under the spindle, and decide on a hole or slot pattern if you want dust collection. Keep the layout matched to how you actually drill; a table overloaded with features you will not use is heavier and more awkward than one built for your real work.
Hardware and mounting
The hardware is where a good table earns its reliability. Use quality T-track and knobs for the fence and any hold-downs so they lock firmly and adjust smoothly. Mount the table to the factory table with bolts through existing holes or with sturdy cleats and clamps, never relying on friction alone, because a table that shifts under load defeats the purpose. Countersink fasteners flush so nothing snags the workpiece. If the plans call for threaded inserts in the MDF, use good ones and seat them properly, since stripped inserts in particleboard-type material are a common failure. Solid, well-seated hardware is what keeps the table square and stable over years of use.
Setup and squaring
Once built, the table is only as good as its setup. Mount it and check that the top is level and the surface is square to the spindle, adjusting the shims or mounting as needed, because a table that is not square to the bit drills angled holes no matter how flat it is. Set the fence square to the intended reference and verify with a test hole. Confirm the insert sits flush so it does not lift the workpiece. Re-check squareness periodically, since wood moves with humidity and mounting hardware can loosen. A few minutes of squaring turns a well-built table into an accurate one.
Conclusion
Drill press table plans are worth following carefully because the table does more to improve a drill press’s usefulness for woodworking than almost any accessory. The design lives on three things, a flat stable top, a straight fence that locks square to the spindle, and a replaceable insert, mounted solidly and squarely to your specific machine with quality hardware. Layout choices and dust or stop features should follow your real work rather than pile on complexity. Build those core elements well, mount the table securely, and square it to the spindle, and you convert a small, awkward factory table into a precise, versatile work surface that pays back the build many times over.
Frequently asked questions
What are the most important parts of a drill press table? A flat, stable top, a straight fence that locks square to the spindle, and a replaceable center insert. Get those three right and the table transforms the machine.
What material should I use for the top? Usually two laminated layers of MDF or plywood for stiffness and flatness, because any warp or flex undermines the accuracy the table is meant to provide.
How do I attach the table to my drill press? Bolt it to the factory table through existing holes, or use sturdy cleats and clamps. Never rely on friction alone, since a table that shifts under load defeats its purpose.
Do I need a T-track? Not strictly, but a T-track adds versatility for stops and hold-downs. Include it if you will use those features, and skip it if you want a simpler, lighter table.
Why does a replaceable insert matter? It backs up the workpiece to prevent tearout at the exit and can be swapped when it fills with holes, keeping the drilling point clean and supporting small parts.
How do I keep the table accurate over time? Re-check that it is square to the spindle periodically, since wood moves with humidity and mounting hardware can loosen. A quick squaring restores accuracy.
References
- Forest Products Laboratory, wood movement and machining references, fpl.fs.usda.gov
- OSHA, Machine Guarding eTool: Drill Presses, osha.gov


